Pottery
I started pottery when I was in high school 20-something years ago. Art was the only class I actually enjoyed in high school – everything else felt like I was being forced to memorize a bunch of stored, outdated and stale information.
I didn’t excel academically until college where I couldn’t get enough of everything I learned and spent most days in the library feeding myself with the mesmerizing knowledge I felt starved of in high school. Perhaps you can relate – but that’s a story for another day.
I loved pottery so much that my parents bought me a wheel for Christmas my junior year of high school. It’s still in my parent’s basement covered in dust quietly waiting for me. I love throwing on the wheel yet I didn’t have the strength throughout the last decade and a half of healing. As many of you who have gone through deep healing know, our muscles are governed by our liver and my liver pretty much shut down for my 20’s and 30’s so I really struggled doing anything physical.
Layered on top of that, I struggled with concentration and focus due to PTSD, trauma and major brain fog from physical imbalances (hello liver toxicity) so even though I tried to get back into pottery two summers ago, my body just couldn’t handle it. Then, this spring, for the first time in 20-something years, I thought I’d give it a whirl. It’s been glorious. So soothing. So healing. So relaxing.
There’s something I’ve learned on the healing journey (and the intense healing crisis the body goes through before healing takes place) that’s worth sharing for any of you in the thick of it all. Here it is:
When there is extreme mental anguish and physical pain, life can seem so narrow and fuzzy. But, by finding one thing each day to bring a little creativity into your life, no matter how small, it will always put a smile on your face. And then, someday, somehow … years down the line, you’ll see how all those little acts of creativity helped you heal and blossom into who you truly are.
In my experience, I’ve found it to be true that once the deep trauma and emotional pain are cleared (this took many years of daily work) a powerful channel of creative energy pours in. It’s a real living, breathing thing. It’s magical. And it’s something for each of us on the healing journey to look forward to.
Below I’m sharing a bit about my pottery process because it has truly helped me get back into my body after trauma. I hope this is helpful for any of you interested in regaining the sensory experience that trauma robs of us. Having your hands in clay is healing in and of itself.
If you’re a visual learner, in the Visual Pottery Process below, there are links where you can watch two videos of me creating bowls from hunks of clay on the pottery wheel.
My Pottery Process
I’m going to try to make this as simple as I can for those of you who may be interested in throwing pottery on the wheel. The trick, as with anything, is patience. Let pottery relax you, not frustrate you. Let your shoulders fall down, loosen your jaw, feel your feet on the floor and let yourself feel the clay in between your hands. That sensory experience in and of itself is healing for the nervous system. If that’s all you can handle, great. Be easy on yourself. You don’t need to actually make anything. Just play!
Step 1: Find the type of clay you’d like to use. I always reach for white clay because red clay tends to be extremely messy and can stain your clothes and hands. I have thrown with white clay as well as white clay with grog. I prefer the latter, which most people do not. For me, white clay with grog is sturdier and while yes, it does have bits of what feels like sand inside of it, it doesn’t flop around like clay without grog. I started using clay with grog a few months ago so there are only a handful of the pieces I’m sharing that are made with grog clay. What I also really love about clay with grog is that the grog gives the final piece of pottery a textured look instead of just a smooth clay look. I like rustic-looking pottery so I opt for grog when it’s available!
Step 2: Slice the block of clay into the size or weight you’d like. I don’t weigh my clay. I use my intuition and slice off a block that is usually out of my comfort zone in terms of size. Use your hands to kneed the clay on a flat surface to remove any air bubbles. This is called wedging. I dread this part, which is why I prefer using fresh clay right out of the bag because it doesn’t need to be wedged!
Step 3: Place the clay smack onto the center of a pottery wheel (or a “bat“, which I discuss below in the visual section). Grab yourself some tools, a sponge and a pottery wheel apron (yes there is a difference between this and a cooking apron – you’ll want the slit down the middle so your pants aren’t covered in clay). You’ll also want a small bucket of warm water nearby. Turn on the wheel (it should spin counter clockwise if you are right-handed).
Step 4: You’ll want to center the clay first, which you’ll see me doing in the above two videos. Once the clay is centered, you’ll drill your pointer finger into the center of the clay, pull the clay out to open up the shape and then pull up as high as you’d like the piece to be.
Step 5: When your piece is finished, use a wire to slice the bottom of the piece so it doesn’t stick to the bat or wheel. If you didn’t use a bat, transfer the piece to a bat so it can easily be stored. Gently cover the piece on the bat with plastic. Allow for a little bit of air to get in here. Don’t seal it completely or it will get moldy!
Step 6: After a week or two, remove the plastic. The clay should be leather hard, which means it’s ready to be trimmed. Flip the piece over on a clean pottery wheel and use your tools to create a nice footer! Sign your name and store your piece for another week or two until it’s completely dry and ready for the kiln.
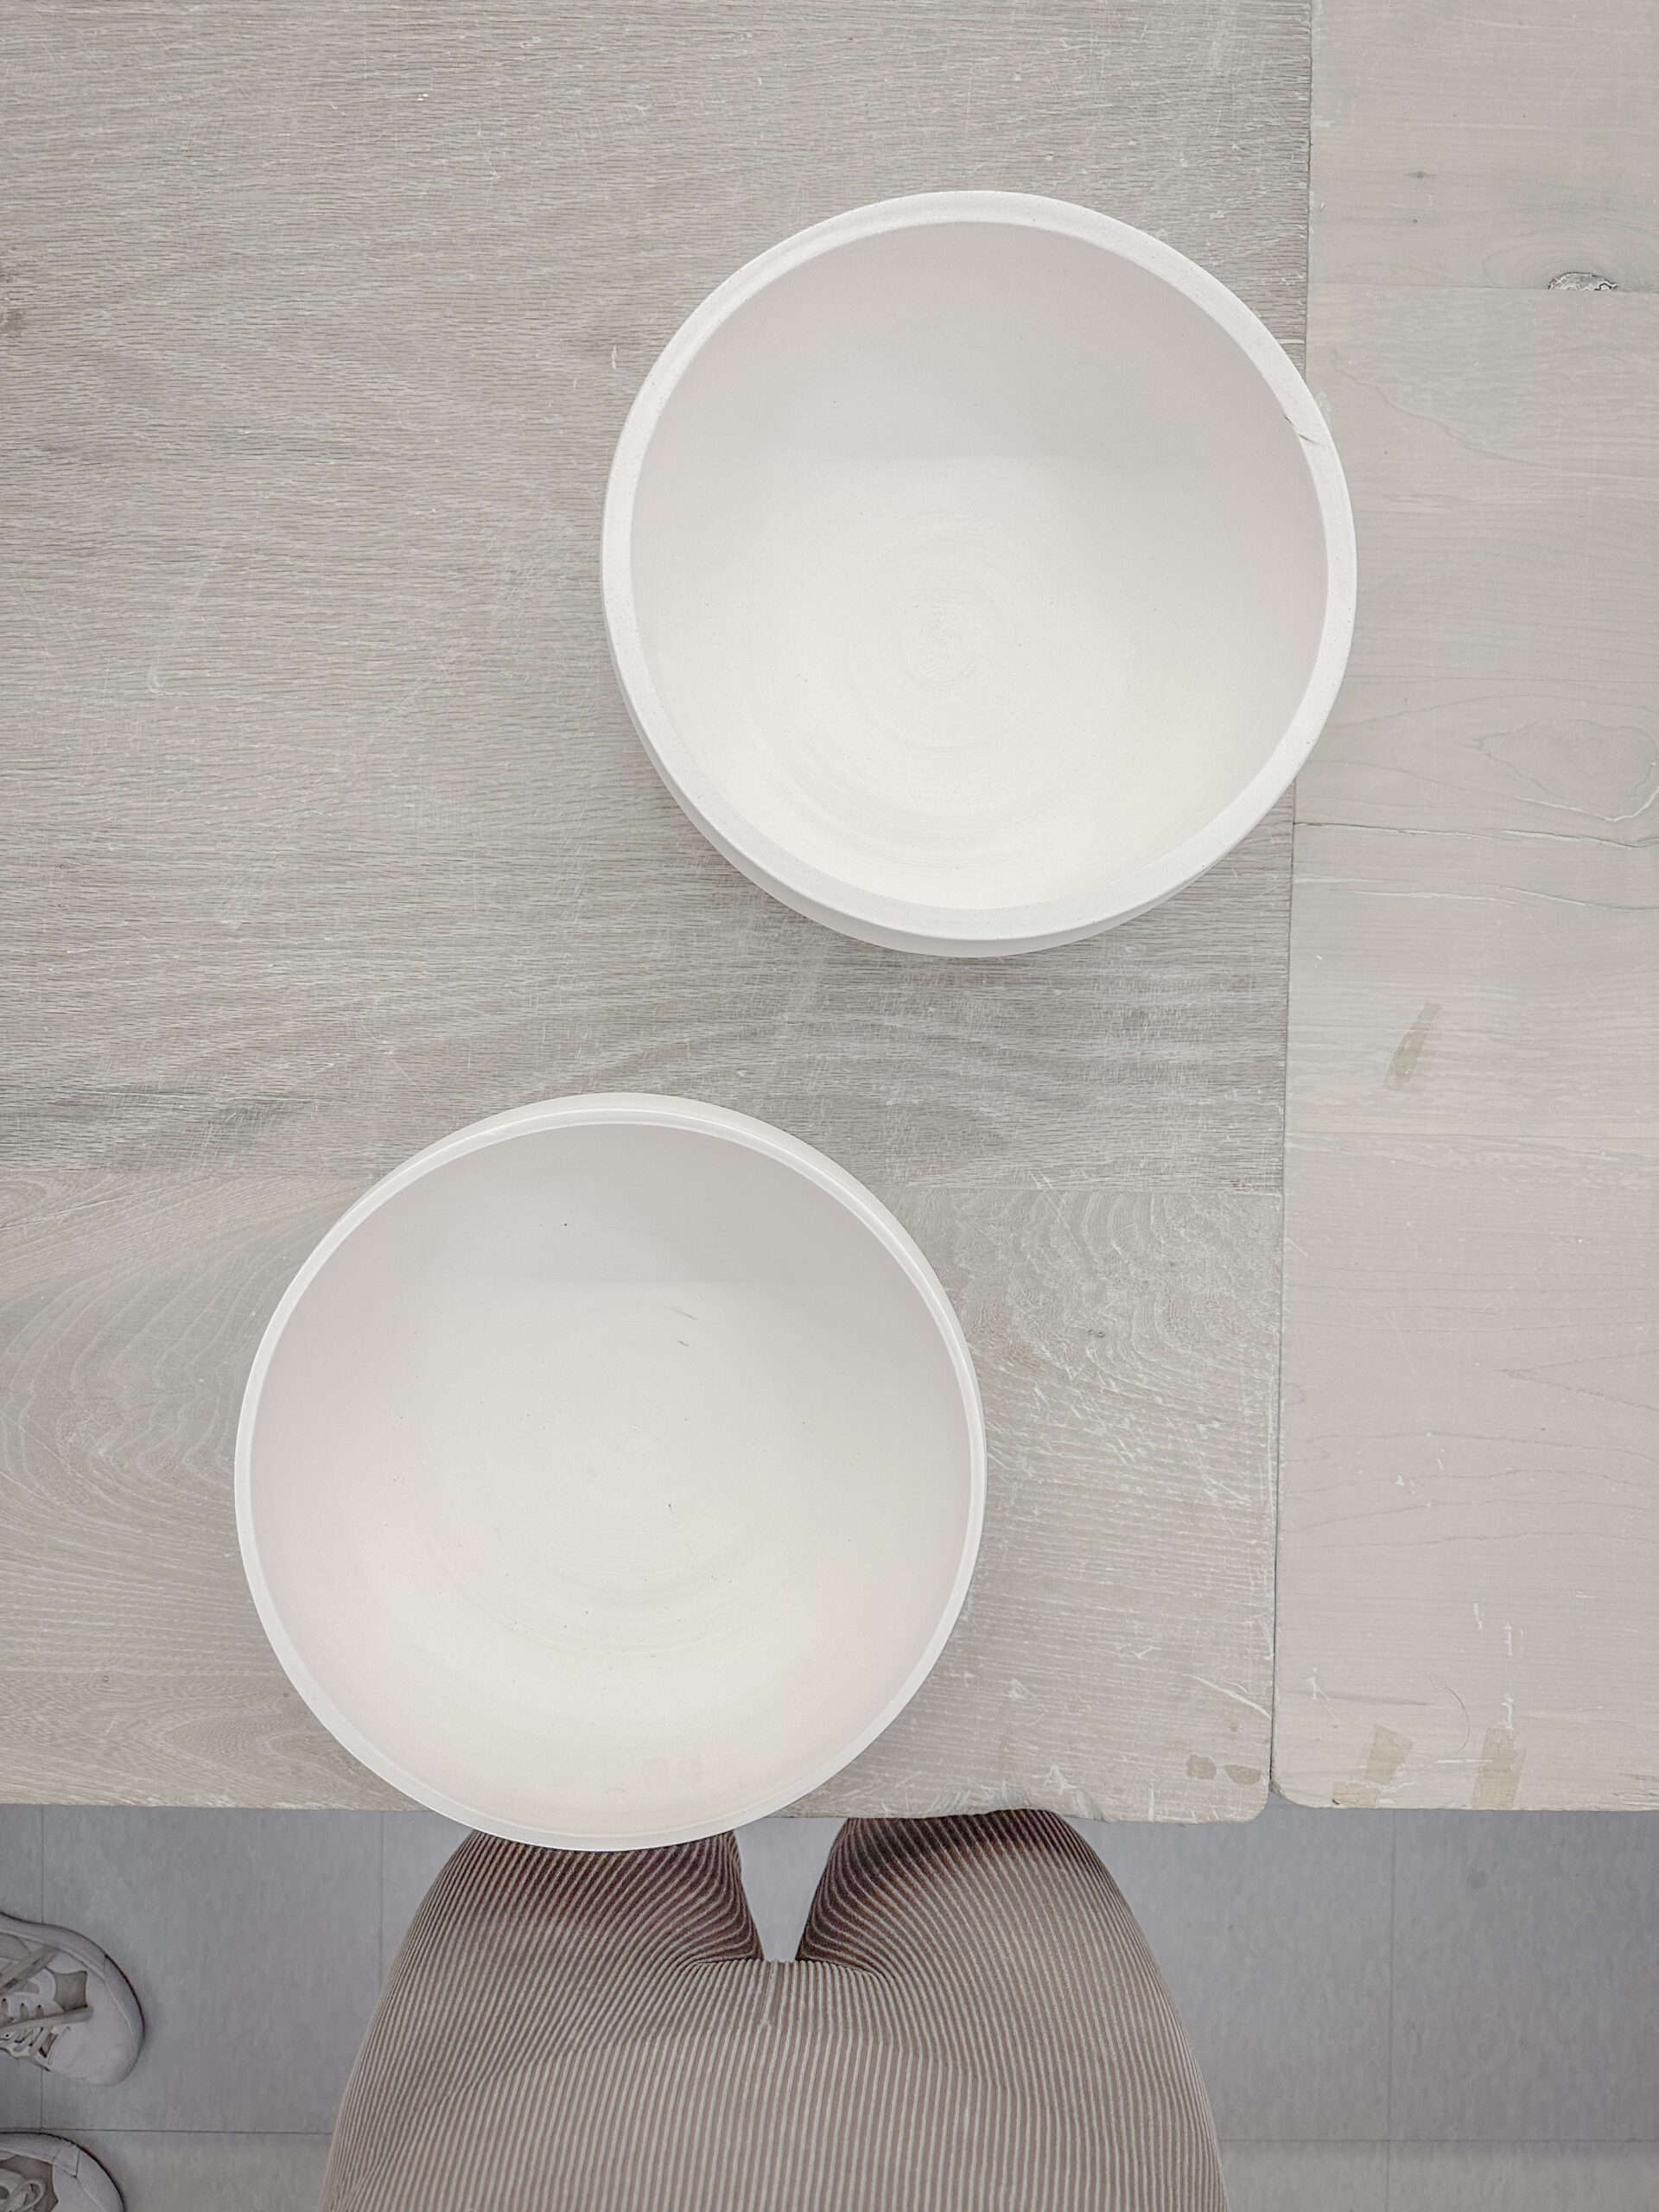
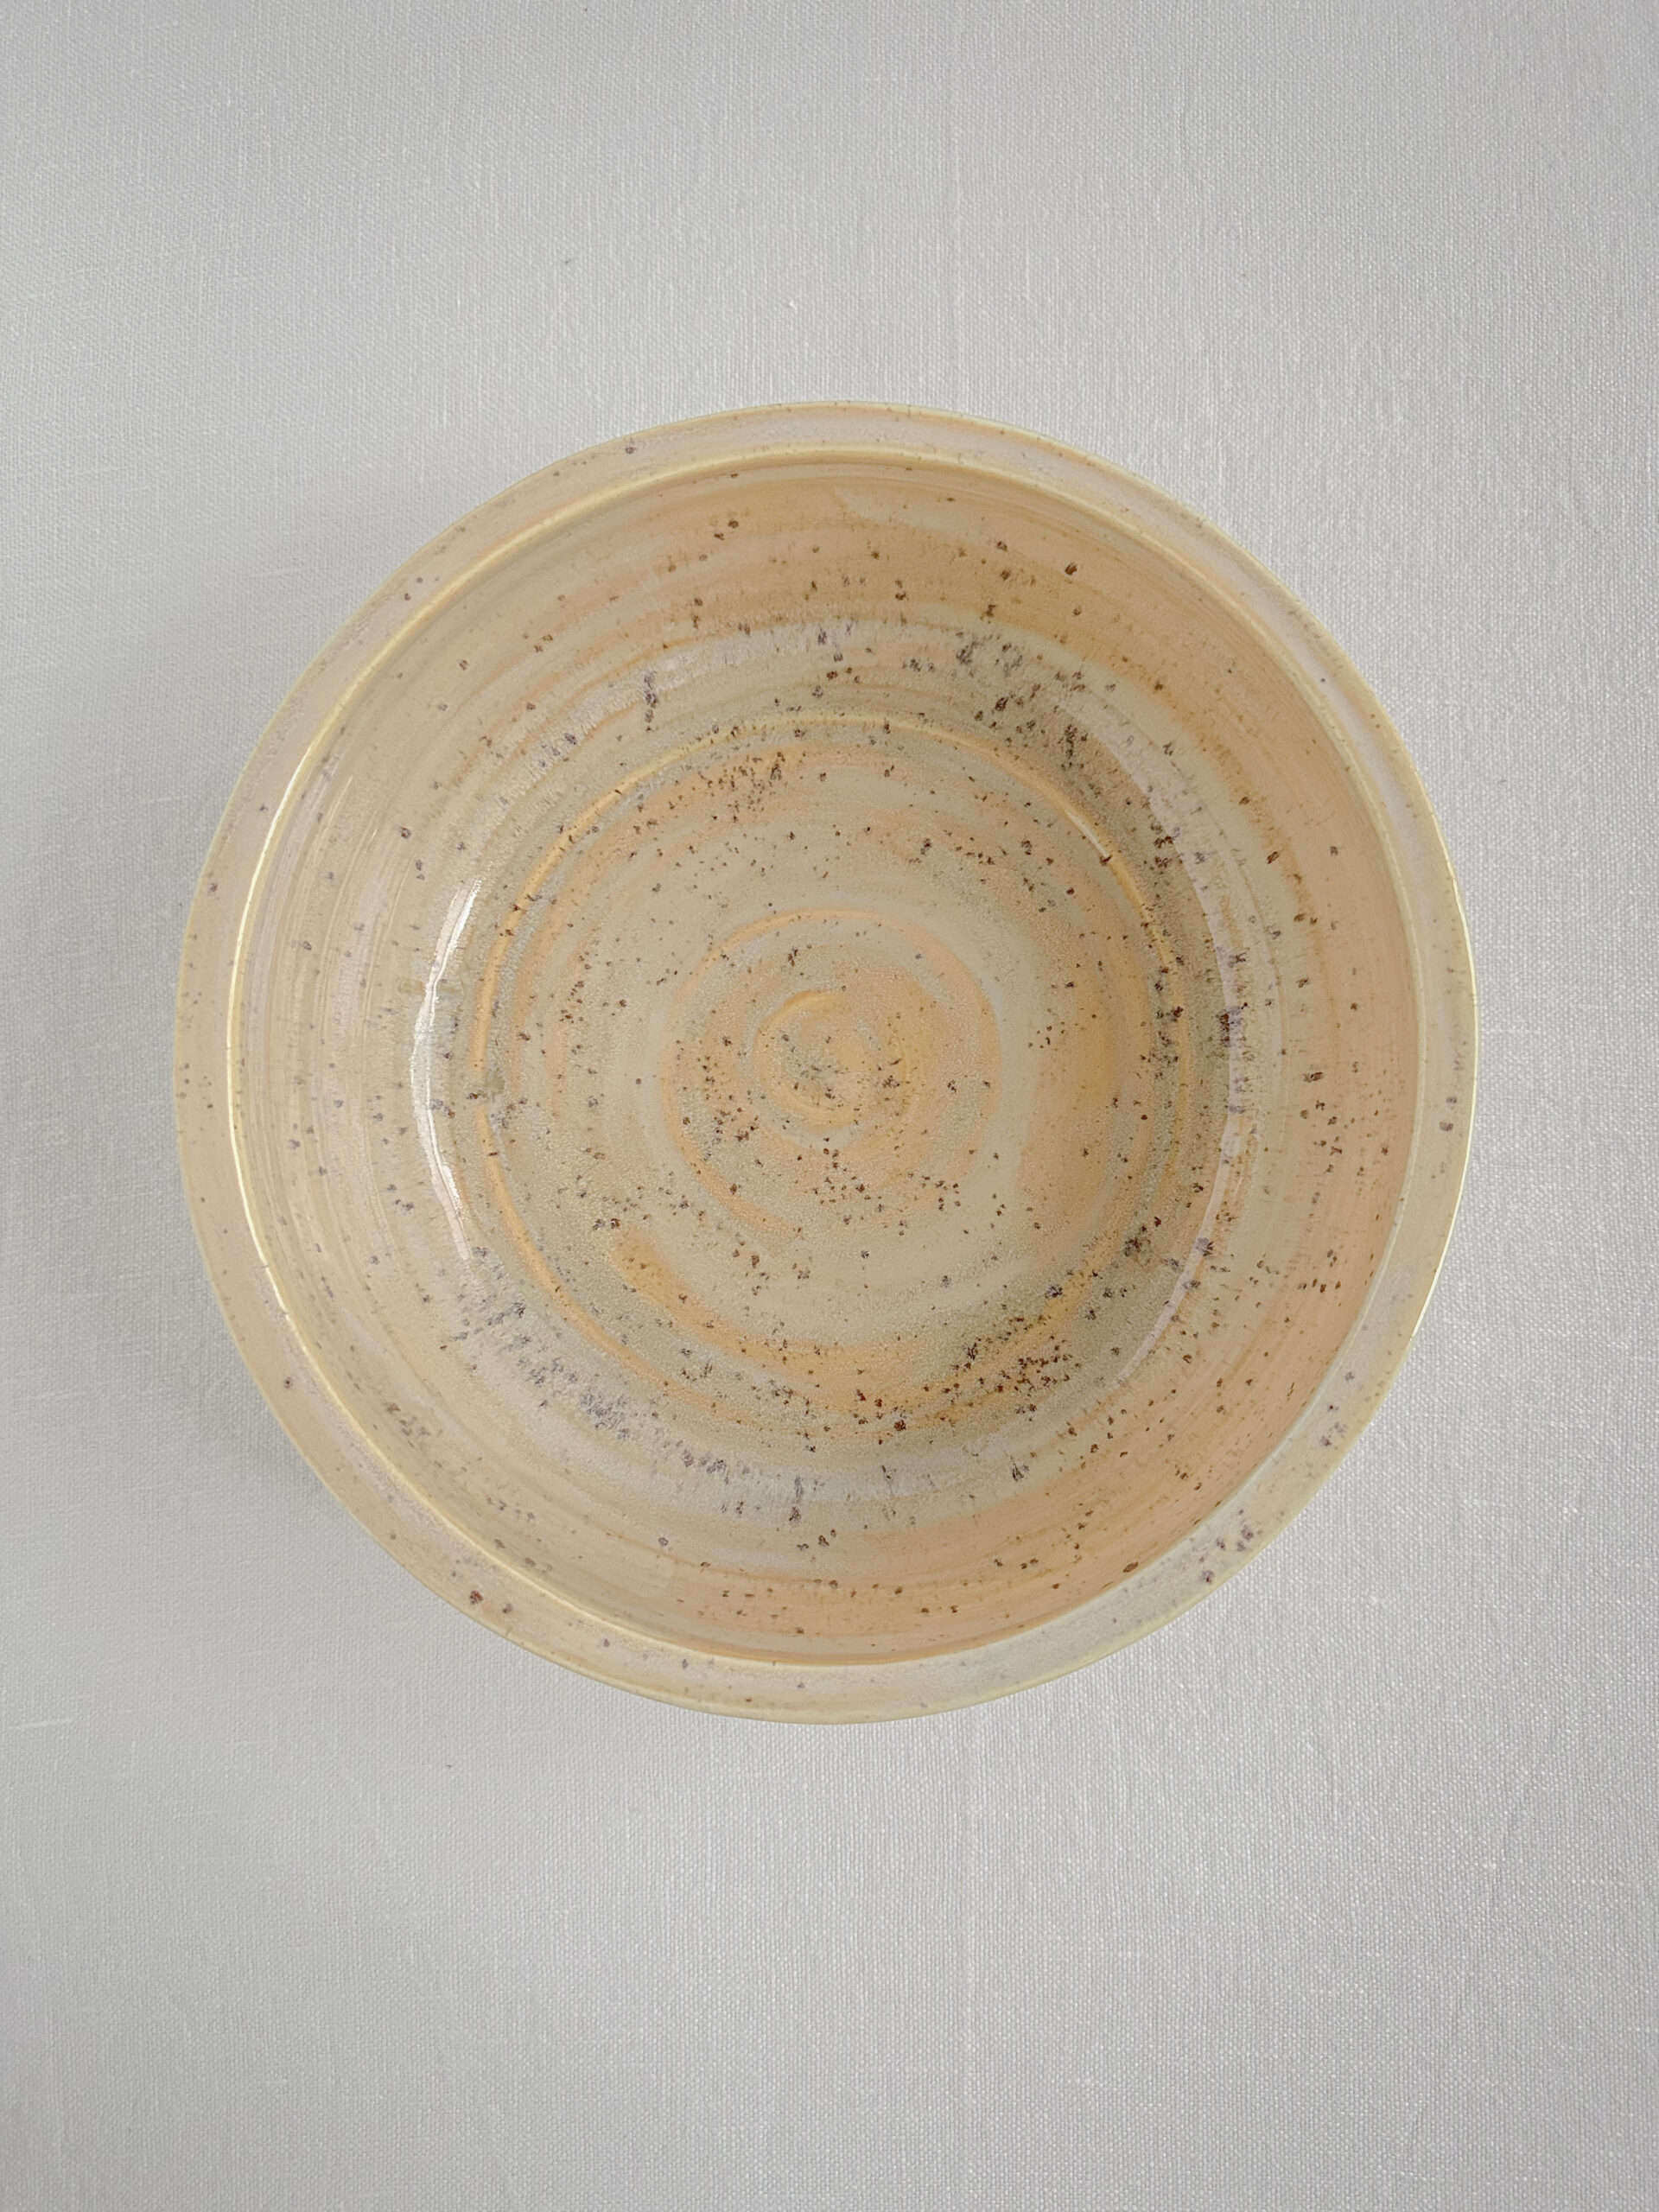
Step 7: The piece, once completely dry, is ready for bisque firing, which is the first round of firing. The top featured image of this article shows two of my bowls after they have been bisque fired. You can see the difference between these bisque fired bowls versus the two images below in the Visual Pottery Process, which show what the clay looks like before it’s fired, when it’s wet and also when it’s leather hard.
Step 8: Once the piece is bisque fired, it’s ready to be glazed. Paint the glaze with a paint brush and make sure the glaze is suited for the temperature of the kiln you’re using. Each glaze has specific temperatures it must be fired at. Also worth noting is to make sure the glaze does not include lead if you plan on eating or drinking out of what you’re creating.
Step 9: Fire the piece one last time.
Step 10: Your piece is complete! Use your new pice of pottery in your everyday life, whether it’s a mug, planter or bowl, etc.
Visual Pottery Process
Here are a few photos and explanations to expand on my above pottery process for those of you who, like me, are visual learners. I wish I had more step-by-step photos but here is one video of me making a bowl from start to finish. And here’s another video of me making a different bowl from start to finish (this video is sped up so you can see more steps).
Lastly, here are a few photos of my pottery throughout the various stages of the process.
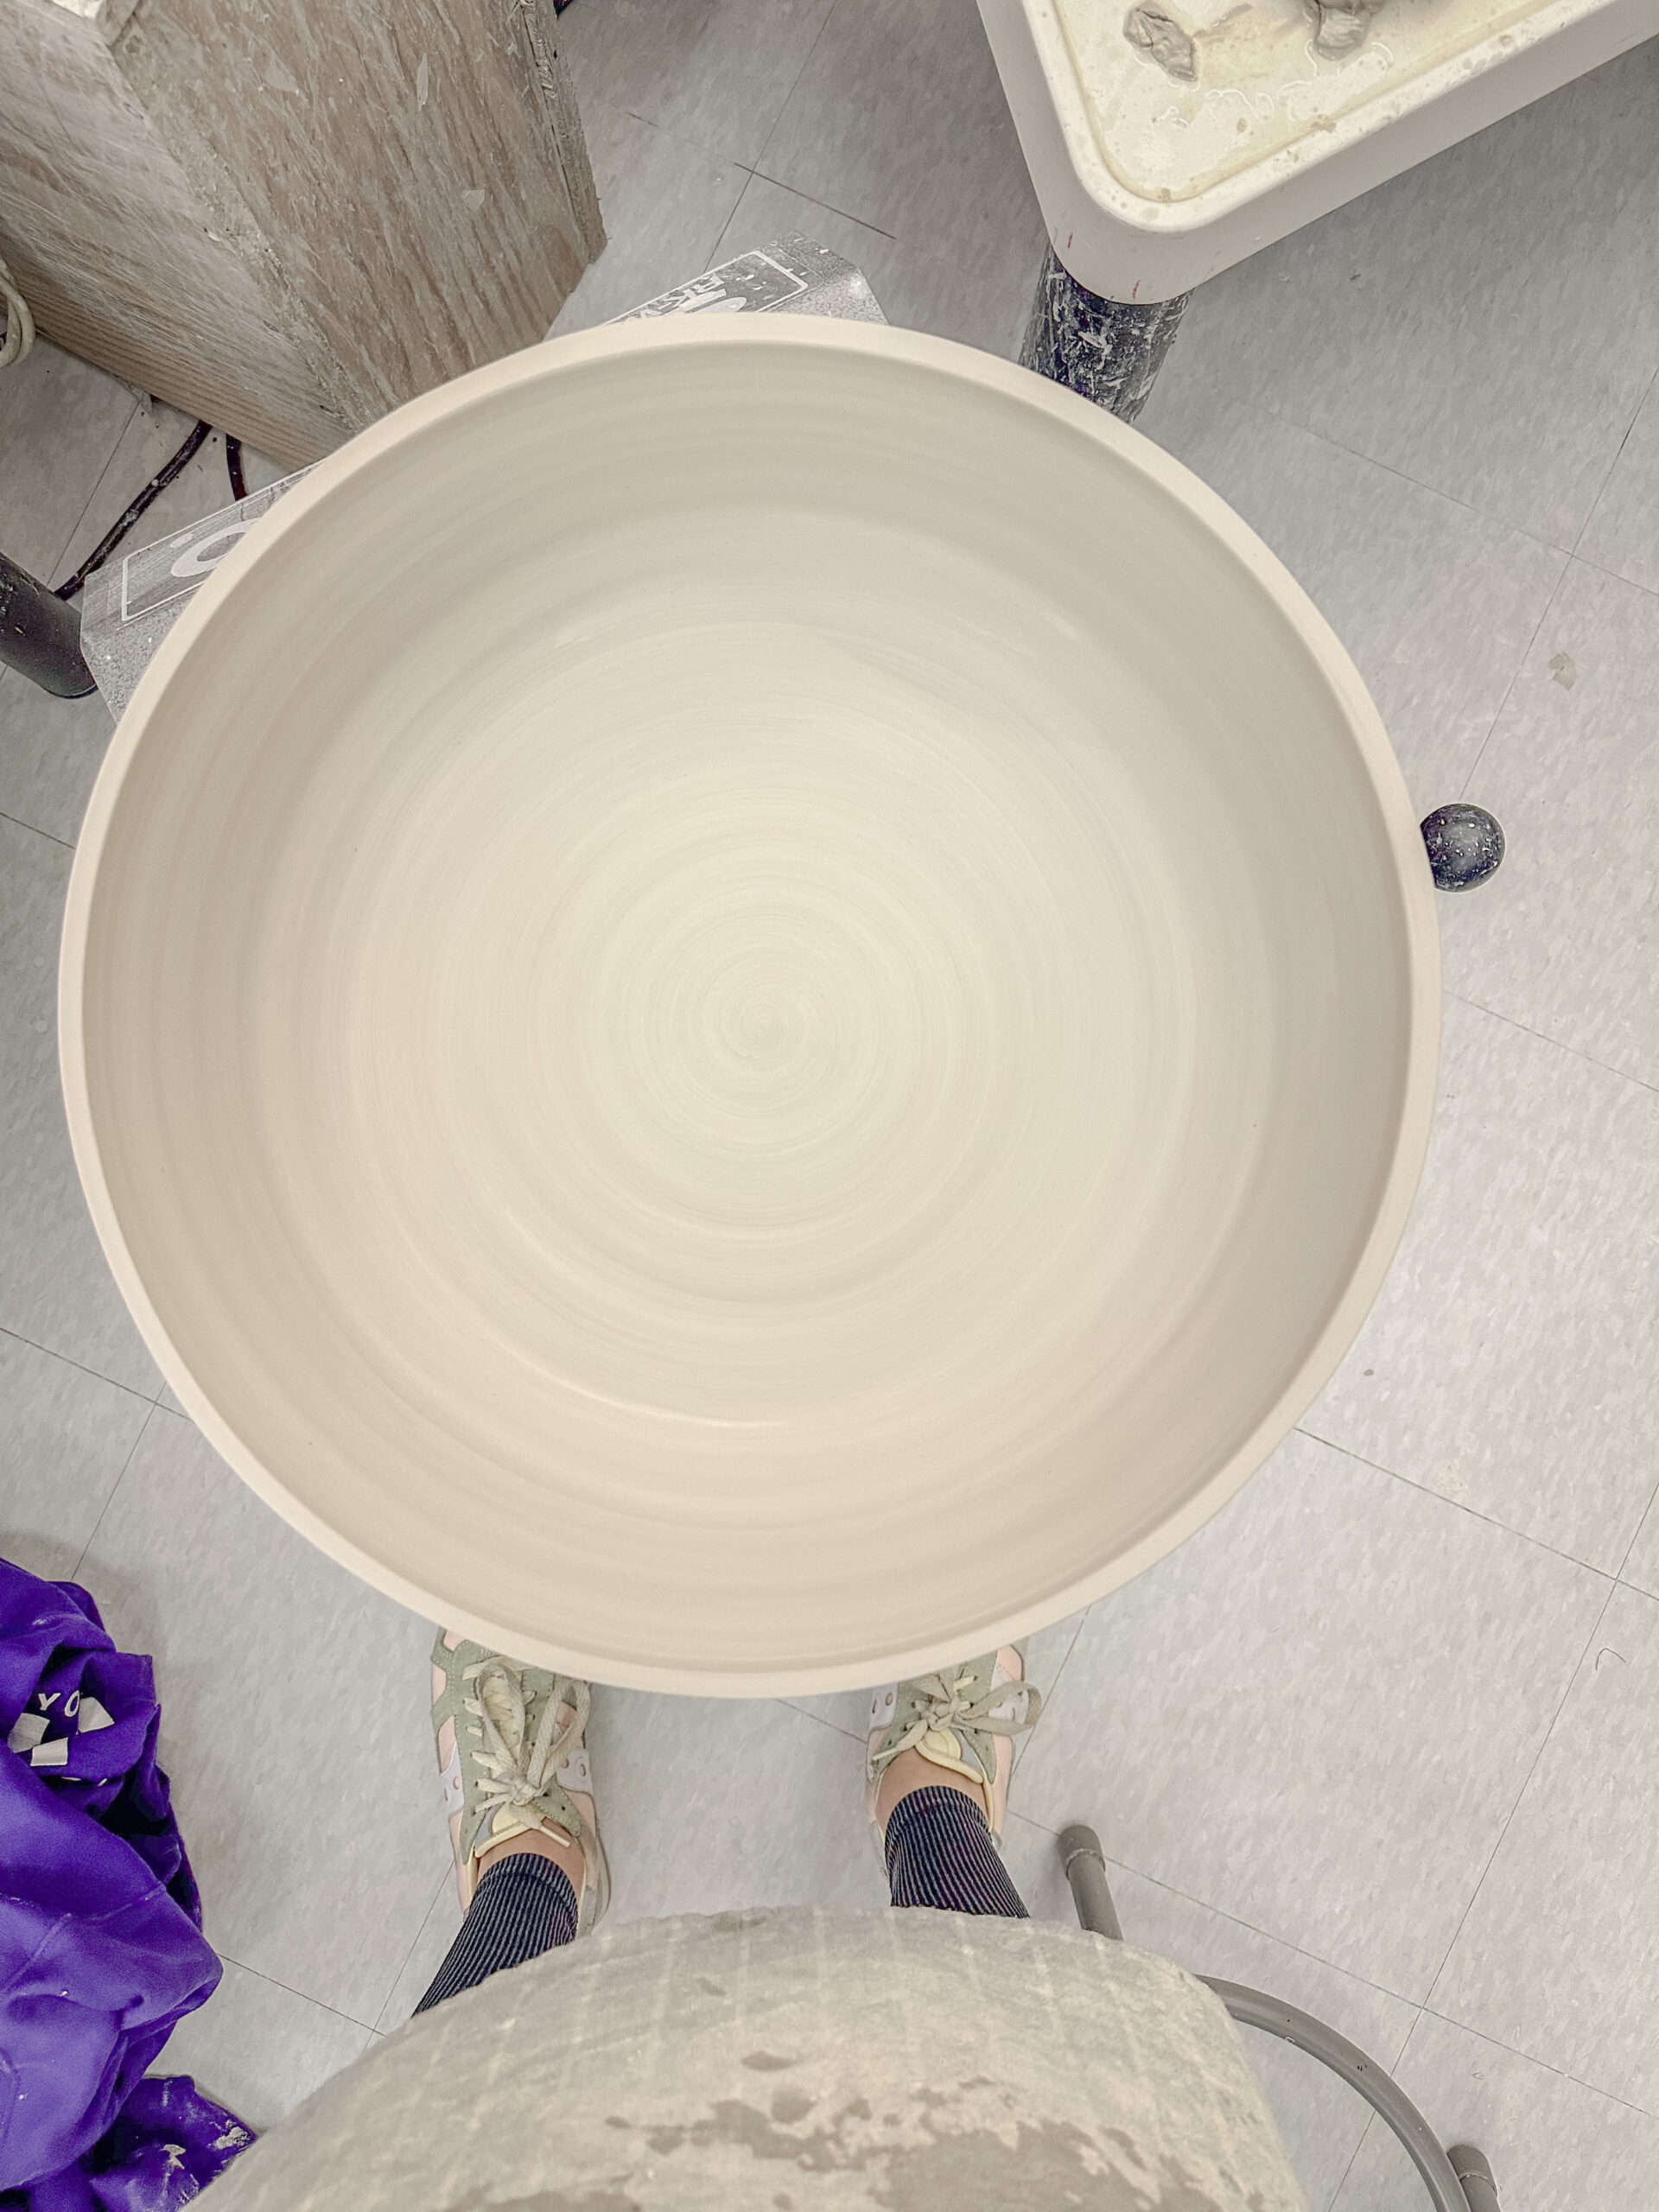
Photo 1 (below left side)
This is the biggest bowl I’ve thrown so far. The clay here is wet as it’s still sitting on the wheel. This is moments after I finished throwing. Because I tend to make larger bowls, I use a “bat” which is a piece of wood fiber that is placed on top of the pottery wheel so that you can easily pick up the bat and your piece without having to lift your piece off the wheel and onto your drying station. This often warps the piece, as you can imagine. I place a large piece of plastic around the bowl and bat once it’s off the wheel and let it sit for about a week or two until it’s leather hard. Once it’s leather hard (as noted above), I can trim the bottom. Then, once completely dry, it will be ready for bisque firing in the kiln. You can see the final result of this bowl – all glazed up – in the below link.
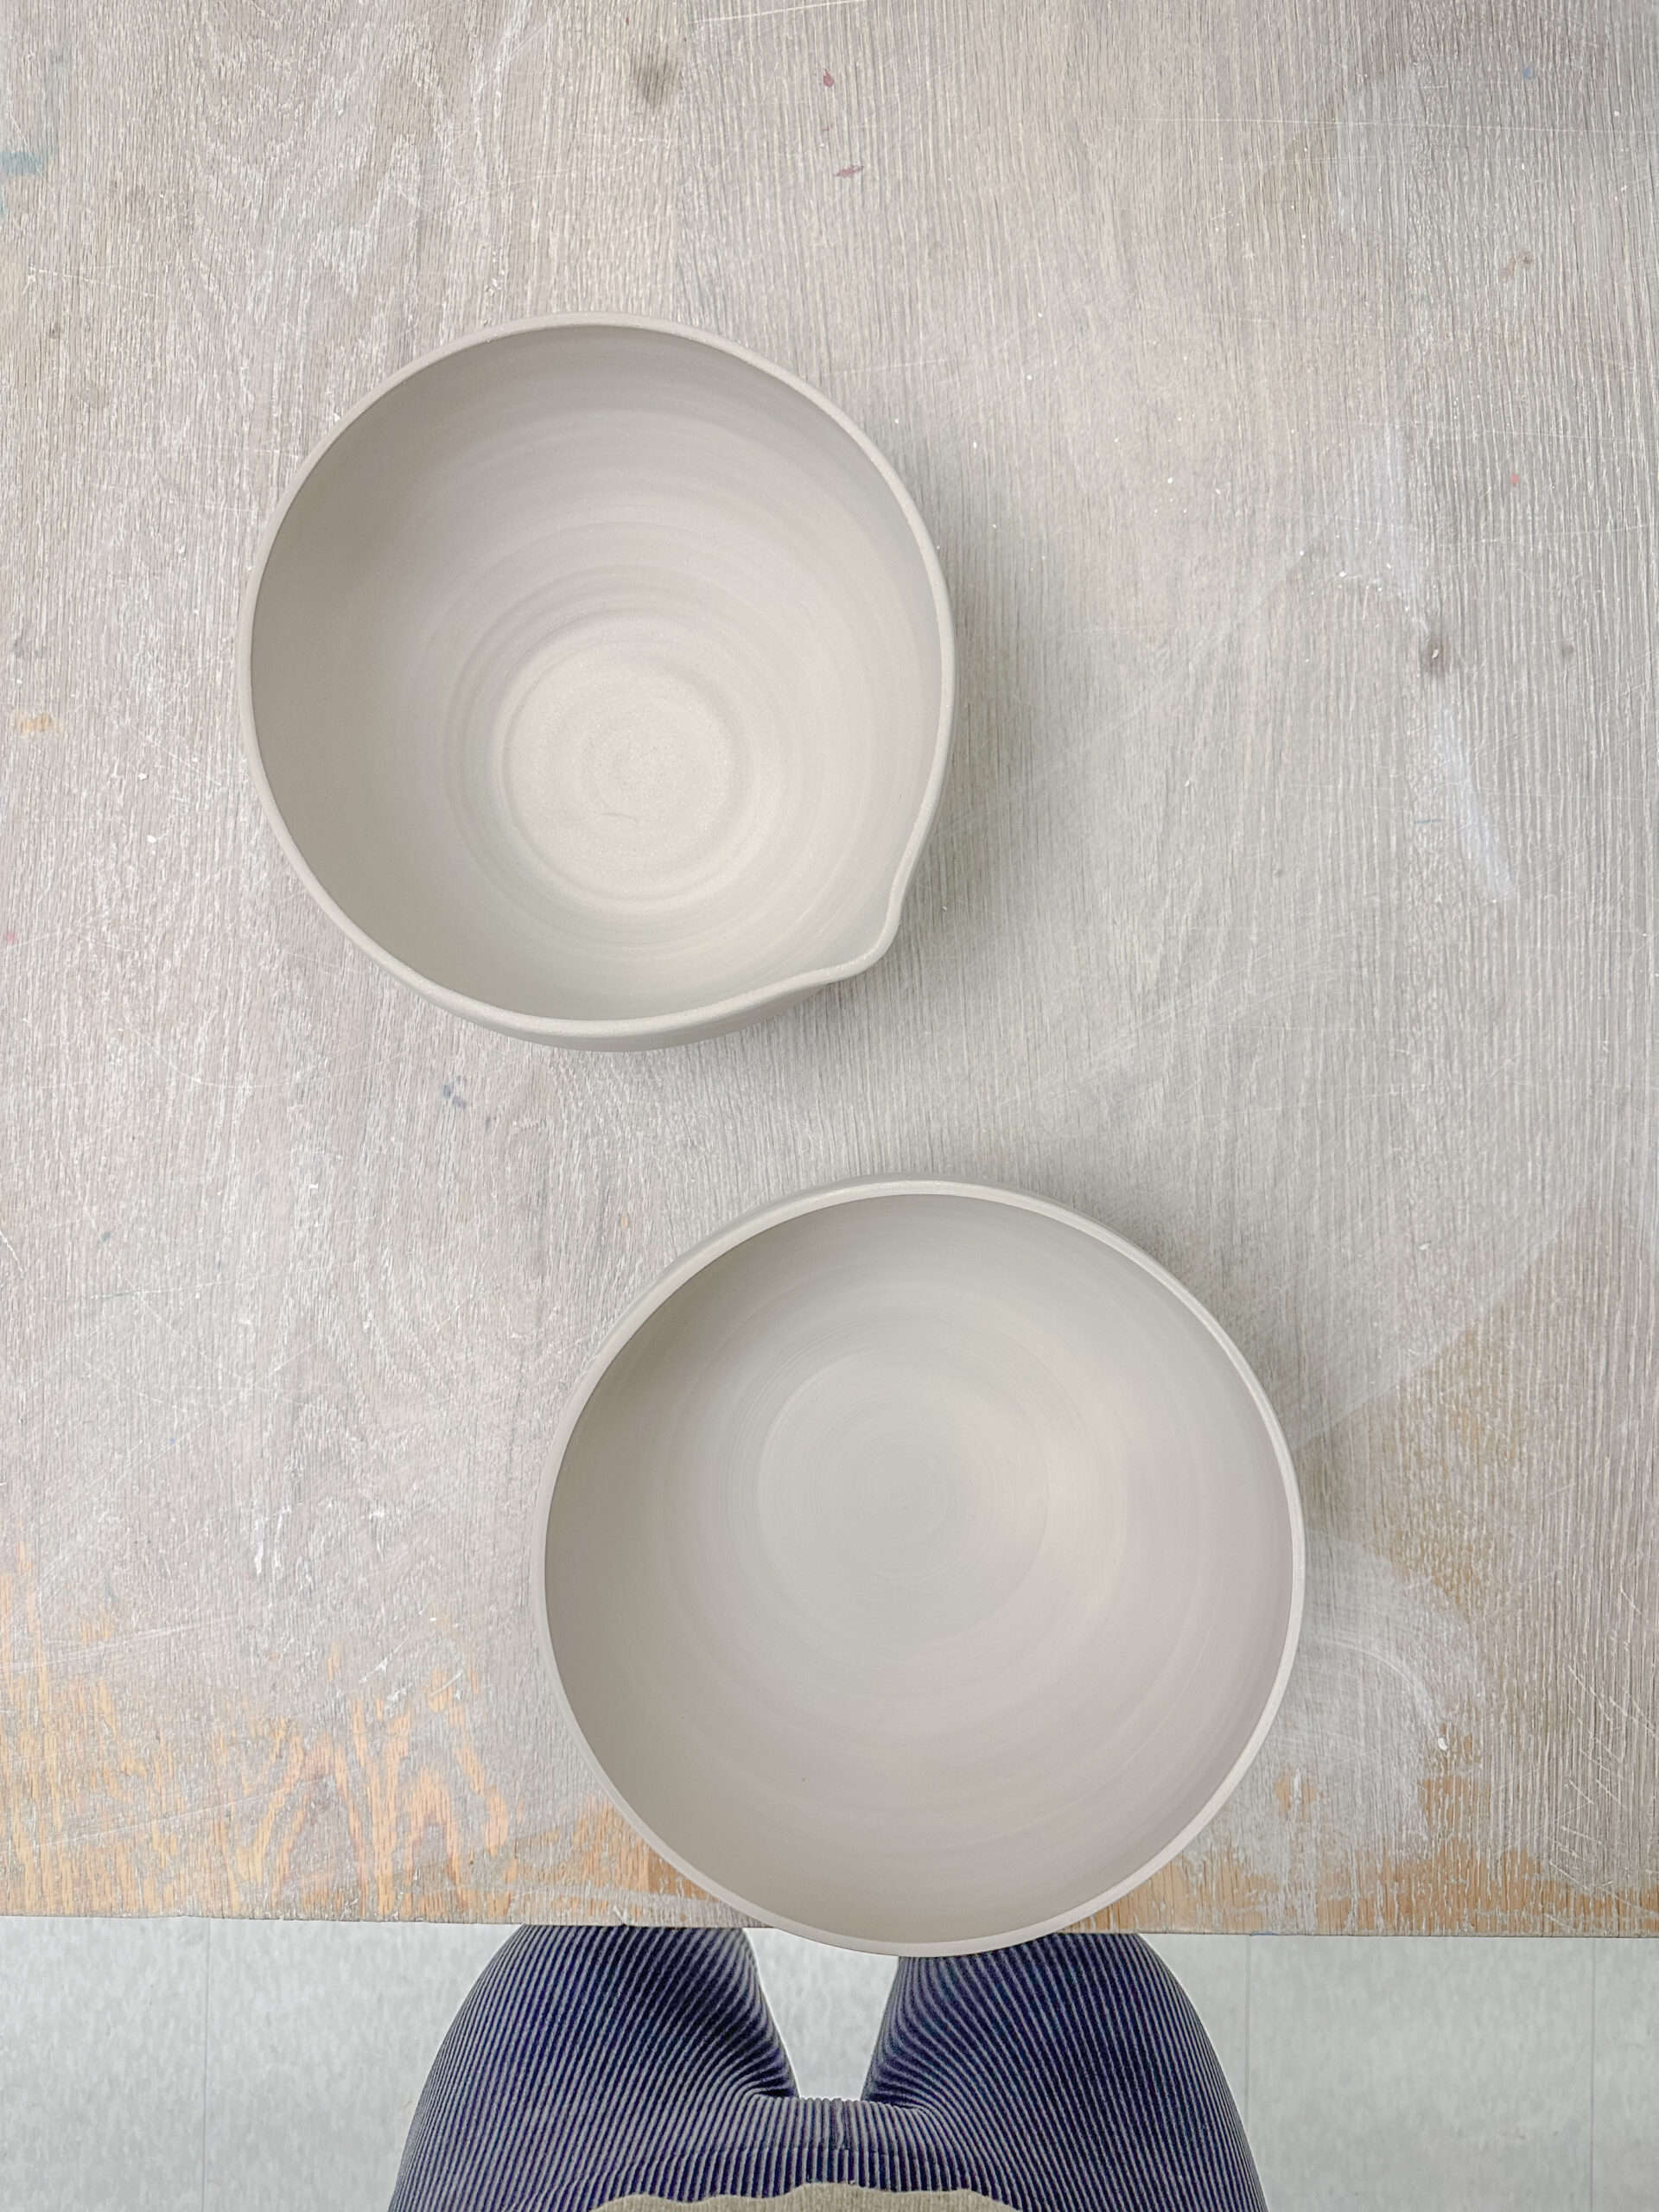
Photo 2 (below right side)
These are two of my bowls, both of which are leather hard and have been trimmed. Trimming happens about a week or two after the piece has been thrown on the wheel. Once the clay is leather hard (and not wet), I’m able to gently flip the bowl over and trim the foot of the bowl. Then, I flip the bowl back over, make sure it sits evenly on the table and let it dry for another week or so before sending it off to the kiln. At this point, I usually sign my name on the bottom of the bowl. From the look of these two bowls, they need to dry out for another week or so before they are ready for bisque firing in the kiln.
Once the bowls have been bisque fired (see the very first image of this article for a visual of two bisque fired pieces), they’re ready to be glazed. I like to do things quite differently so I enjoy layering 2-3 glazes on my pieces to create interesting textures. Once the glaze is dry, the pieces are ready to go back into the kiln one last time.
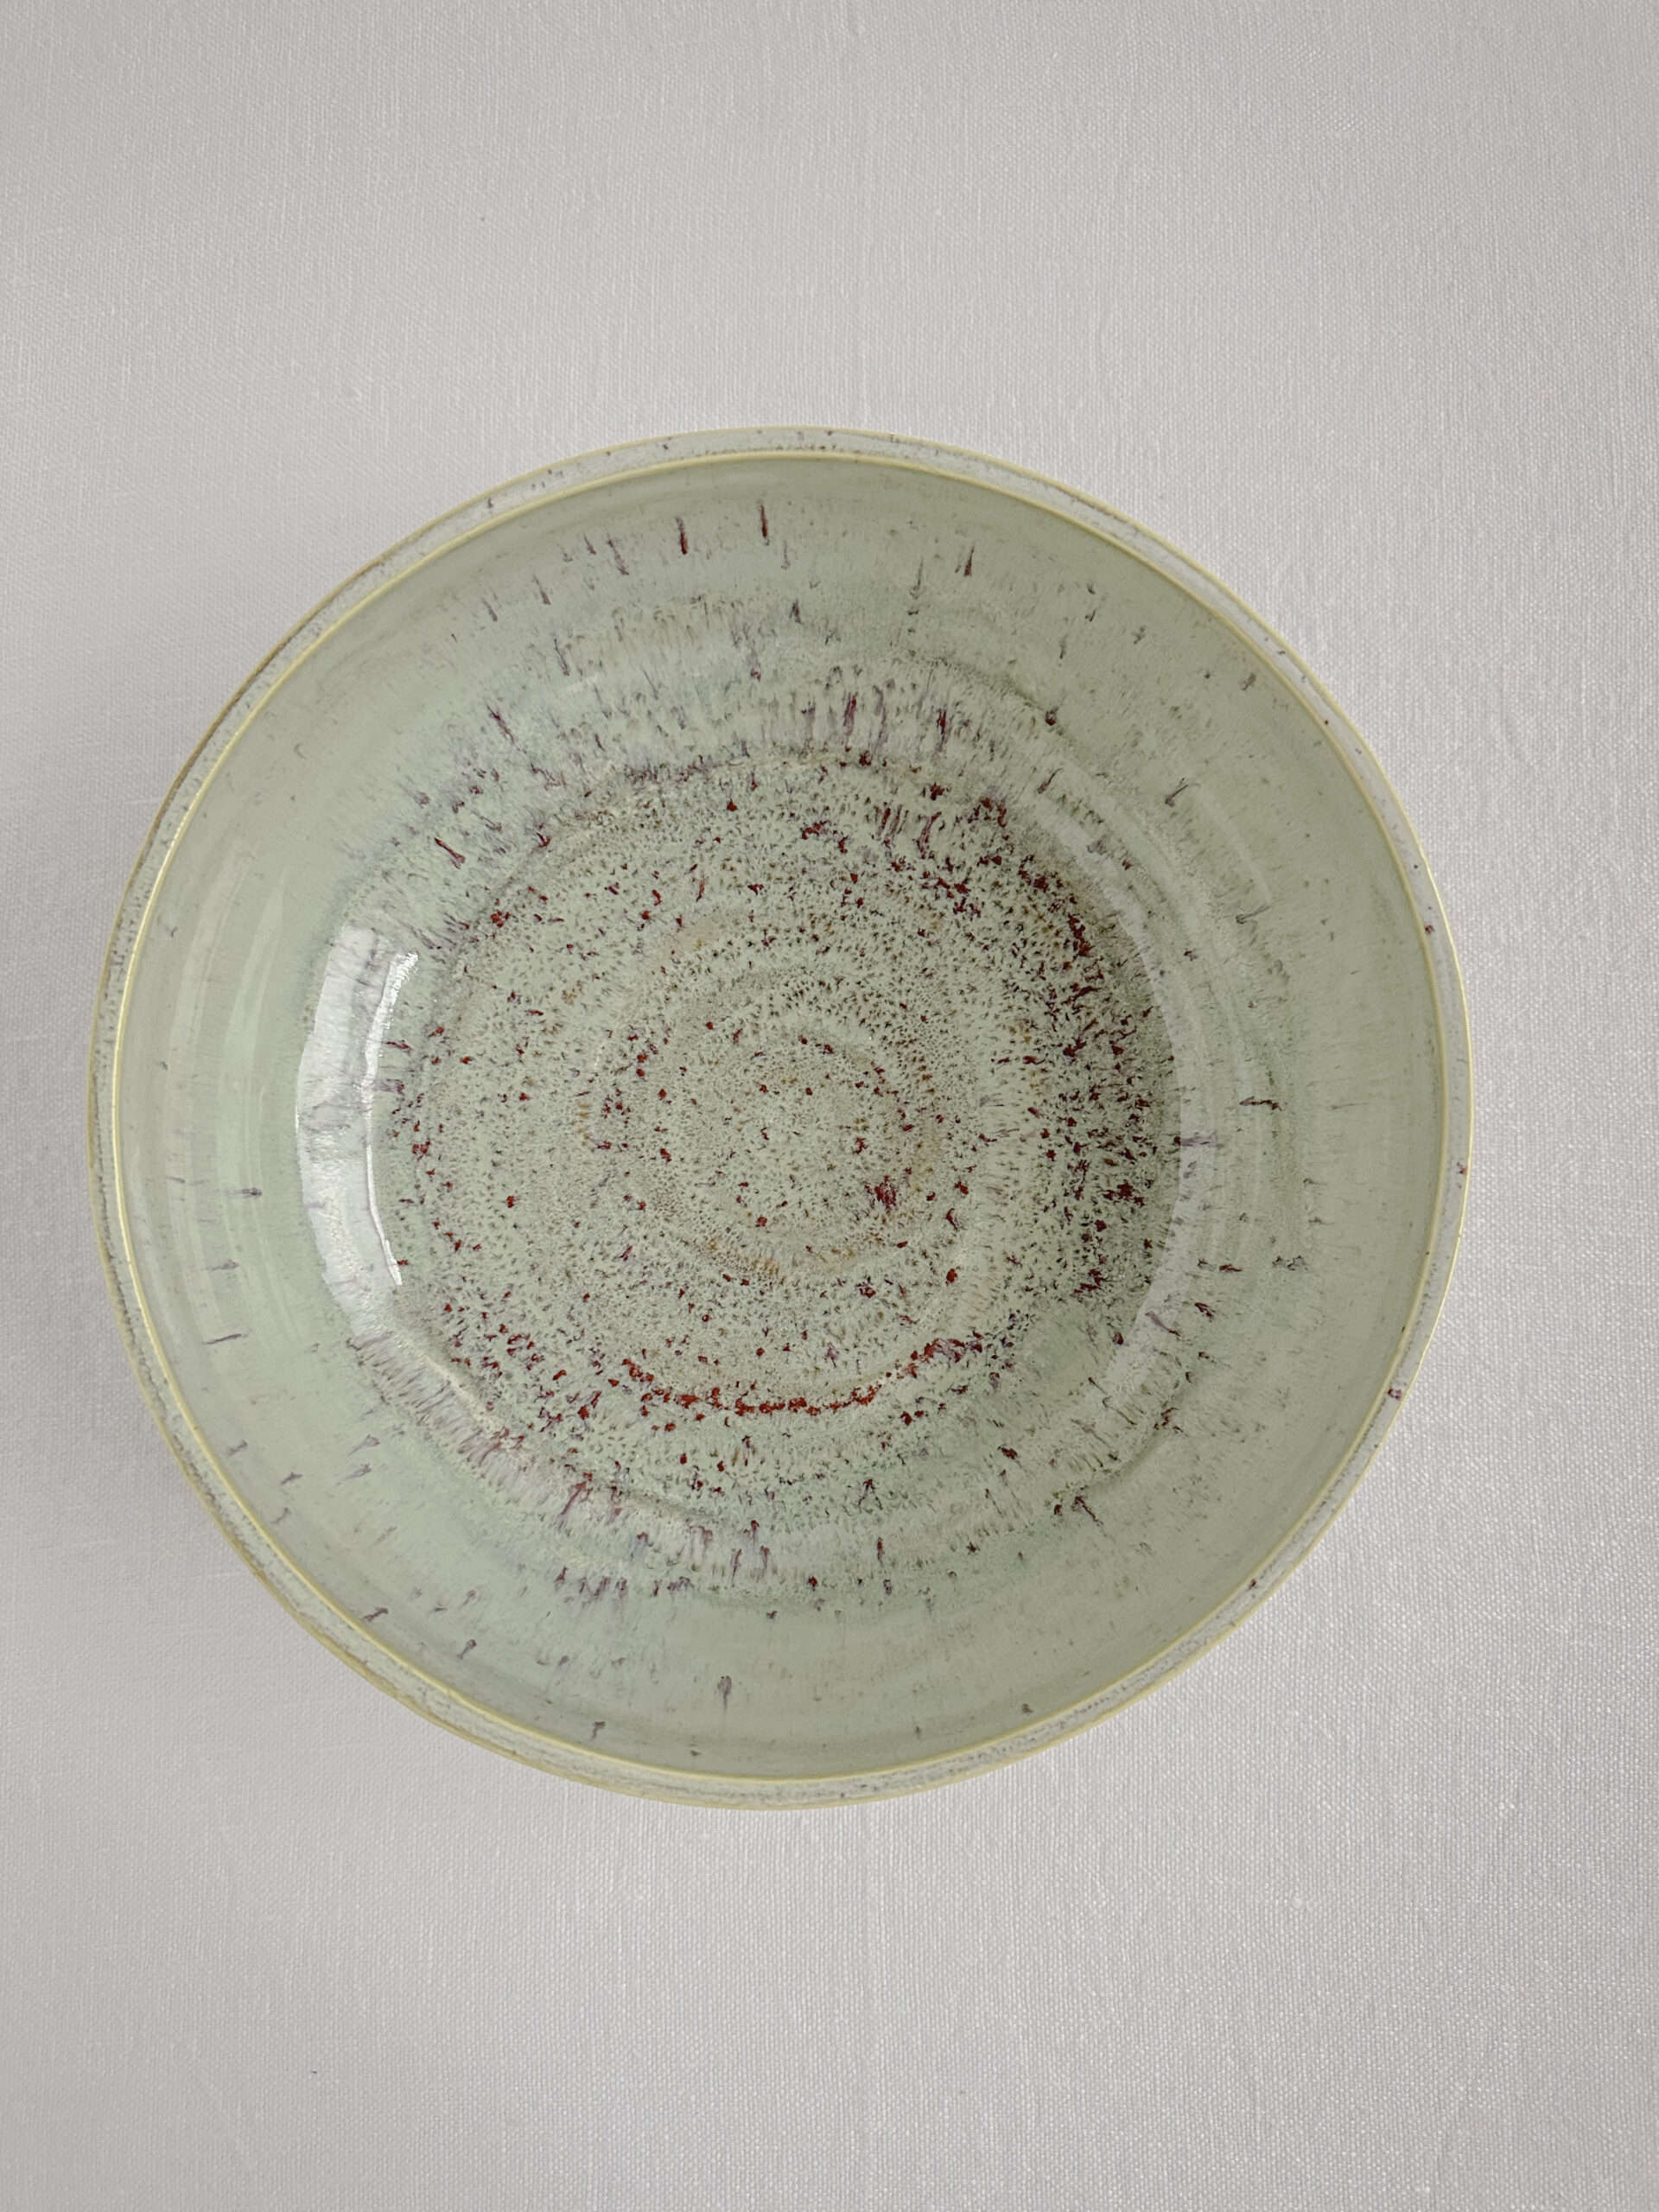
The end result is beautifully glazed pieces, as shown below.
Photos 3 + 4
Below are two of my finished pieces that just came out of the kiln for their second firing. These bowls are all dolled up with 2-3 glazes each. You can see a variety of my finished pottery pieces here.
EXPLORE
MORE ARTICLES
-
Almond Flour Biscuits
My first encounter with a biscuit was right here in Manhattan. I was about six or seven years old. My aunt, who loved taking me into New York City, asked if I’d like to have tea and biscuits with her for a special treat. I, of course, pulled a little dress out of my closet…
-
Butternut Squash Lasagna with Basil Almond Ricotta
Comfort foods make me happy, especially as the weather starts to cool off in Manhattan. I let go of my love affair with celery and cucumbers until late Spring and start to fill the large ceramic bowl on my kitchen counter with all sorts of squash, especially butternut (I love my Roasted Carrot + Butternut…
-
Cast Iron Cookware
That being said, tossing everything that contained aluminum in my home (including the deodorant I was using) forced me to look at other options for healthy cooking. Now, I didn’t know a darn thing about cast iron cookware and the whole idea freaked me out because I knew anything made of iron would be heavy…